Loading...
> docs/slack
Connecting Slack
6 min read
Channels
Last updated March 05, 2026
What This Connects
Slack is one of the messaging platforms your OpenClaw instance can use to communicate with users. Once connected, people in your Slack workspace can message the bot in channels or via direct messages, and get responses powered by your OpenClaw instance.
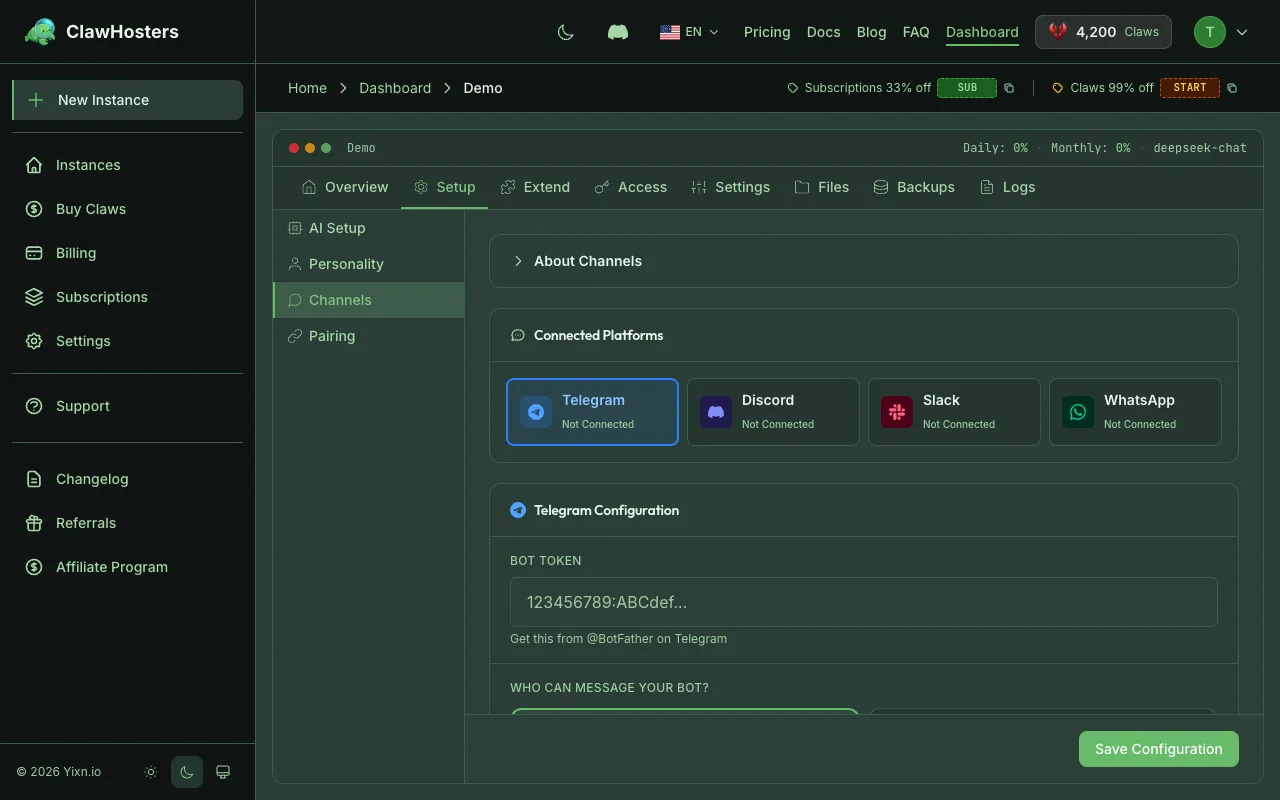
Unlike Telegram and Discord (which use a single bot token), Slack requires three credentials: a Bot Token, an App-Level Token, and a Signing Secret. The connection uses Socket Mode, which means your instance does not need a public URL.
Prerequisites
Before connecting Slack, make sure you have:
- A running OpenClaw instance on ClawHosters
- A Slack workspace where you have admin access
- Access to the Slack API portal
Step 1: Create a Slack App
- Go to the Slack API portal
- Click Create New App
- Choose From scratch
- Enter an app name (e.g. "My AI Assistant") and select your workspace
- Click Create App
You are taken to the app's settings page. Keep this page open. You will need it for the next steps.
Step 2: Enable Socket Mode
Socket Mode lets your bot receive events through a WebSocket connection instead of requiring a public webhook URL. This is how ClawHosters instances communicate with Slack.
- In the left sidebar, click Socket Mode
- Toggle Enable Socket Mode to on
- You are prompted to create an App-Level Token
- Give it a name (e.g. "openclaw-connection")
- Add the connections:write scope
- Click Generate
- Copy the App-Level Token (starts with
xapp-). You will need this in Step 6.
Step 3: Configure Bot Permissions
- In the left sidebar, click OAuth & Permissions
- Scroll down to Bot Token Scopes
- Add the following scopes:
chat:write(send messages)channels:read(see channel list)channels:history(read channel messages)groups:read(see private channel list)groups:history(read private channel messages)im:read(see direct message list)im:history(read direct messages)im:write(open direct message conversations)users:read(see user profiles)
These scopes give the bot the minimum permissions needed to read and respond to messages across your workspace.
Step 4: Install the App to Your Workspace
- In the left sidebar, click OAuth & Permissions
- Click Install to Workspace at the top of the page
- Review the permissions and click Allow
- Copy the Bot User OAuth Token (starts with
xoxb-). You will need this in Step 6.
Step 5: Get the Signing Secret
- In the left sidebar, click Basic Information
- Scroll down to App Credentials
- Find the Signing Secret and click Show
- Copy the Signing Secret. You will need this in Step 6.
Step 6: Enter Credentials in ClawHosters
There are two ways to enter your credentials, depending on whether your instance is new or already running.
During Instance Setup (New Instance)
When you create a new instance, the setup wizard includes a Slack step:
- Paste the Bot Token (
xoxb-...) - Paste the App-Level Token (
xapp-...) - Paste the Signing Secret
- Choose a DM policy:
- Pairing mode (recommended): Users must be approved before they can chat with the bot in DMs. This gives you control over who talks to your bot privately.
- Open mode: Anyone in your workspace can message the bot. No approval required.
- Click Save & Continue
For a Running Instance (Settings)
If your instance is already running:
- Go to your instance dashboard
- Open Settings
- Find the Slack section under Messenger configuration
- Enter the Bot Token, App-Level Token, and Signing Secret
- Choose the DM policy
- Save the changes. Your instance reconfigures and starts the Slack connection.
Step 7: Subscribe to Events
For the bot to receive messages, you need to subscribe to the right events.
- In the Slack API portal, click Event Subscriptions in the left sidebar
- Toggle Enable Events to on (Socket Mode handles the delivery, so no Request URL is needed)
- Under Subscribe to bot events, add:
message.channels(messages in public channels)message.groups(messages in private channels)message.im(direct messages)
- Click Save Changes
Step 8: Invite the Bot to a Channel
The bot only sees messages in channels where it has been invited.
- Open the Slack channel where you want the bot
- Type
/invite @YourBotNameor click the channel name, go to Integrations, and add the app - The bot can now read and respond to messages in that channel
How It Works Behind the Scenes
When you save the credentials, ClawHosters encrypts them and stores them securely. The credentials are transmitted to your instance via SSH.
Your OpenClaw instance connects to Slack using Socket Mode. This opens a WebSocket connection from your instance to Slack's servers. Events (like new messages) flow through this connection in real time. The bot does not need a public URL or webhook endpoint. All communication flows outbound from your instance to Slack.
The Signing Secret is used to verify that incoming events actually come from Slack and have not been tampered with.
Changing Credentials Later
If you need to update any of the three credentials:
- Go to your instance Settings
- Update the credential fields
- Save. Your instance reconfigures automatically.
If you regenerate the Bot Token in Slack (by reinstalling the app), you need to update it in ClawHosters as well.
Troubleshooting
Bot does not respond to messages
- Verify all three credentials are entered correctly in ClawHosters
- Make sure your instance status is Running
- Check that the bot has been invited to the channel
- Verify that Event Subscriptions are enabled with the correct events
"invalidauth" or "notauthed" errors
- The Bot Token may be expired or incorrect. Reinstall the app in your workspace to get a new token.
- Make sure you are using the Bot User OAuth Token (starts with
xoxb-), not the User OAuth Token.
Bot responds in channels but not in DMs
- If using pairing mode, the user must be approved first
- Make sure the
im:read,im:history, andim:writescopes are added - Check that
message.imis included in the event subscriptions
Socket Mode connection fails
- Verify the App-Level Token is correct (starts with
xapp-) - Make sure Socket Mode is enabled in the Slack API portal
- Check that the App-Level Token has the
connections:writescope
Bot was removed from a channel
- The bot only sees messages in channels it has been explicitly invited to
- Re-invite the bot using
/invite @YourBotName
Pairing code not working
- Pairing codes are single-use. If it was already used or has expired, the user should message the bot again to get a fresh code
- Make sure you enter the code exactly as shown (case-sensitive)
Related Docs
- Connecting Telegram. Alternative channel with bot token setup
- Connecting Discord. Discord server integration
- Multi-channel Setup. Running multiple channels simultaneously
- Quickstart Guide. Full setup walkthrough
Related Documentation
Connecting Discord
What This Connects Discord is one of the messaging platforms your OpenClaw instance can use to c...
Connecting Telegram
What This Connects Telegram is one of the messaging platforms your OpenClaw instance can use to ...
Authentication and Access Control
How Authentication Works in ClawHosters ClawHosters uses different authentication methods depend...
