Loading...
> docs/migration
Migration Guide
6 min read
Advanced
Last updated March 23, 2026
Moving Between Self-hosting and ClawHosters
If you started with one hosting option and want to switch, this guide covers the process in both directions. The main challenge is transferring your configuration and conversation data without losing anything.
Self-hosting to ClawHosters
Step 1: Export Your Configuration
Before creating a ClawHosters instance, gather your current setup:
- Copy your
openclaw.jsonconfiguration file - Note your current LLM provider and model settings
- Export any custom skills or plugins you have installed
- Back up your workspace files (SOUL.md, AGENTS.md, IDENTITY.md, USER.md)
- Back up your data volume contents
bash
# Copy config from your self-hosted instance
# Location depends on your setup. Common paths:
cp ./dotopenclaw/openclaw.json ./openclaw-backup.json
# Or if config is only inside the container:
docker cp <container_name>:/root/.openclaw/openclaw.json ./openclaw-backup.json

# Back up workspace files (personality and behavior)
cp -r ./dotopenclaw/workspace/ ./workspace-backup/

# Back up the data volume
docker run --rm -v openclaw_data:/app/data -v $(pwd):/backup alpine tar czf /backup/openclaw-data.tar.gz /app/data
Step 2: Create a ClawHosters Instance
- Sign in at clawhosters.com
- Create a new instance with your preferred tier
- Wait for provisioning to complete (under one minute)
Step 3: Choose Your LLM Configuration
You have two options for LLM access on ClawHosters:
Managed Packs (Eco, Standard, Premium): No configuration needed. ClawHosters handles the API keys and billing. See LLM Add-on for details.
BYOK (Bring Your Own Key): Enter your existing API key in the dashboard. The instance connects directly to your provider.
Step 4: Transfer Configuration
After your instance is running:
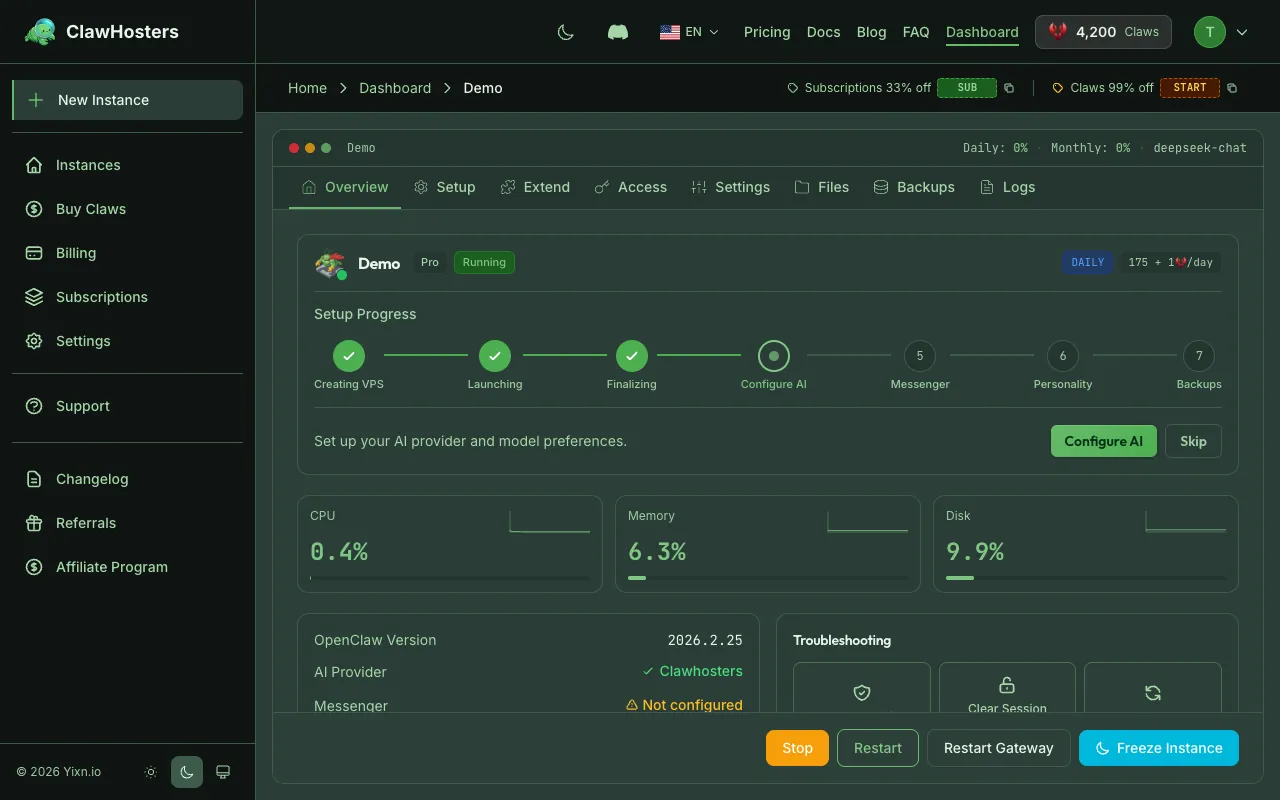
- Open the ClawHosters dashboard and select your instance
- Go to Settings > Config Editor to review and apply your previous
openclaw.jsonsettings - Upload your workspace files (SOUL.md, AGENTS.md, etc.) via the Personality tab, or through SSH if enabled
- Reinstall any custom skills or plugins
Step 5: Set Up Channels
If you were using Telegram or WhatsApp:
- Go to the channel pairing section in the ClawHosters dashboard
- Follow the pairing flow for each channel
- Update your bot's webhook URL to point to the new instance
Note: You will need to re-pair channels because webhook URLs change when the server address changes.
Step 6: Verify and Decommission
- Test the new instance through the web UI
- Test each paired channel
- Once confirmed working, shut down your self-hosted instance
ClawHosters to Self-hosting
Step 1: Prepare Your Server
Set up a server with the requirements:
- Linux server (Ubuntu 22.04+ recommended)
- Docker and docker-compose installed
- At least 2 vCPU and 4 GB RAM
- Firewall configured (SSH + your chosen web port)
Step 2: Export from ClawHosters
If you have SSH access to your ClawHosters instance:
bash
# SSH into your instance (enable SSH access in the dashboard first, port 2222)
ssh -p 2222 root@<instance-ip>

# Config is on the VPS host filesystem, not inside the container
cp /opt/openclaw/dotopenclaw/openclaw.json /tmp/openclaw.json

# Copy workspace files (personality, behavior)
cp -r /opt/openclaw/dotopenclaw/workspace/ /tmp/workspace-backup/

# Back up the data volume
docker run --rm -v openclaw_data:/app/data -v /tmp:/backup alpine tar czf /backup/openclaw-data.tar.gz /app/data
If you do not have SSH access, use the Export feature in the ClawHosters dashboard under Settings > Export. It downloads your configuration, identity files, credentials, and data as a ZIP archive.
Step 3: Set Up Docker on Your Server
Create a docker-compose.yml based on the Docker Configuration Reference:
yaml
version: "3.8"
services:
  openclaw:
    image: ghcr.io/phioranex/openclaw-docker:latest
    ports:
      - "8080:18789"
    volumes:
      - openclaw_data:/app/data
      - ./dotopenclaw:/root/.openclaw
    environment:
      - OPENCLAW_GATEWAY_MODE=local
    command: gateway --allow-unconfigured --bind lan
    restart: unless-stopped

volumes:
  openclaw_data:
Step 4: Import Your Data
bash
# Create the config directory and place your files
mkdir -p dotopenclaw/workspace
cp openclaw-backup.json dotopenclaw/openclaw.json
# Copy workspace files if you have them
cp workspace-backup/*.md dotopenclaw/workspace/ 2>/dev/null

# Start the container
docker-compose up -d

# If you have a data backup, restore it
docker run --rm -v openclaw_data:/app/data -v $(pwd):/backup alpine tar xzf /backup/openclaw-data.tar.gz -C /

# Restart to apply the restored data
docker-compose restart
Step 5: Configure LLM Access
You will need your own API keys for self-hosting:
- Obtain an API key from your preferred LLM provider
- Add it to your
openclaw.jsonor environment variables - See the Environment Variables reference for configuration options
Step 6: Set Up Channels
Re-configure any messaging channels:
- Telegram: Create a new bot or update the webhook URL to your server's address
- WhatsApp: Update the webhook configuration to point to your server
Step 7: Cancel ClawHosters
Once everything is working on your self-hosted setup:
- Verify all channels are responding
- Test the web UI
- Pause or delete your ClawHosters instance through the dashboard
What Transfers and What Does Not
| Data | Transfers? | Notes |
|---|---|---|
| openclaw.json configuration | Yes | Copy manually or use Export feature |
| Workspace files (SOUL.md, AGENTS.md, IDENTITY.md) | Yes | Personality and behavior definitions |
| USER.md and HEARTBEAT.md | Yes | If configured |
| Conversation history | Yes | Stored in data volume at /app/data |
| Auth profiles (auth-profiles.json) | Yes | Contains provider credentials |
| Installed skills | Partially | Need to reinstall, but config transfers |
| Channel pairings | No | Must re-pair on new instance |
| LLM API keys (BYOK) | Yes | Copy your keys or use Export |
| Managed LLM access | No | Only available on ClawHosters |
| Custom domain settings | No | DNS needs to be reconfigured |
| Cron jobs | Yes | Stored in data volume |
Planning for Downtime
During migration, there will be a period where your assistant is unavailable:
Estimated downtime: - Self-hosting to ClawHosters: 5-15 minutes (mostly channel re-pairing) - ClawHosters to self-hosting: 30-60 minutes (server setup + configuration)
To minimize downtime: 1. Set up the new instance first without switching channels 2. Test the new instance through the web UI 3. Switch channels only after confirming the new instance works 4. The channel switch itself takes under a minute
Troubleshooting Migration Issues
Container will not start after data import: Check that the data volume paths match between source and destination. The volume mount path must be identical.
Configuration not applied:
Verify that openclaw.json is in the correct location. If using a bind-mount setup, check ./dotopenclaw/openclaw.json on the host. Inside the container, the path is /root/.openclaw/openclaw.json. Confirm with docker exec <container_name> cat /root/.openclaw/openclaw.json.
Channels not receiving messages: Webhook URLs must point to the new server's address. Check that your firewall allows incoming traffic on the web port.
Related Docs
- Self-hosting vs ClawHosters. Compare hosting options
- Docker Configuration Reference. Container setup details
- Environment Variables. Configuration reference
- Architecture Overview. How ClawHosters works internally
Related Documentation
What is ClawHosters?
Managed OpenClaw Hosting ClawHosters is a managed hosting platform for OpenClaw AI assistants. Y...
What is OpenClaw?
An Open-Source AI Assistant You Can Self-Host OpenClaw is an open-source framework for running y...
Self-hosting vs ClawHosters
Comparing Your Options OpenClaw is open source, which means you can run it on your own infrastru...
