Loading...
> docs/first-instance
Creating Your First Instance
5 min read
Getting Started
Last updated March 12, 2026
What You'll Set Up
An instance is a dedicated server running OpenClaw, provisioned exclusively for you. Each instance gets its own resources (CPU, RAM, storage), its own IP address, and runs in an isolated Docker container. Nobody else shares your server.
This guide walks through every screen of the creation wizard, from billing mode to a running instance.
Prerequisites
Before you start, make sure you have:
- A ClawHosters account (sign up at clawhosters.com if needed)
- Optional: An LLM API key from your provider (Anthropic, OpenAI, or another supported provider). This is not required because free LLM access is included with every instance.
- For daily billing: enough Claws balance to cover the setup fee and first day
Opening the Creation Wizard
From your dashboard, click New Instance. This opens the creation wizard, a three-step process that guides you through all the decisions.
If capacity is currently full (all available server slots are taken), you'll see a waitlist page instead. Slots typically free up within a few hours.
Step 1: Choose Billing Mode
The first screen asks how you want to pay:
Daily (Pay-as-you-go) - Claws are deducted from your balance once per day at midnight UTC - A one-time setup fee applies when creating the instance - Your instance runs as long as you have balance - If your balance hits zero, the instance pauses automatically (data preserved for 3 days) - Good for testing, development, or variable usage patterns
Monthly Subscription - Fixed monthly payment processed through Stripe - Runs continuously with no interruptions - No setup fee - Cancel anytime from your billing settings
Pick the mode that fits your use case and click Continue.
Step 2: Select Tier and Name
Choose the server resources for your instance:
| Tier | vCPU | RAM | Storage | Monthly Price | Daily Cost |
|---|---|---|---|---|---|
| Budget | 2 | 4 GB | 40 GB | €19/month | 60 Claws/day |
| Balanced | 4 | 8 GB | 80 GB | €35/month | 105 Claws/day |
| Pro | 8 | 16 GB | 160 GB | €59/month | 175 Claws/day |
Budget handles personal assistants and low-traffic bots without issues. Choose Balanced if you expect multiple concurrent conversations or heavier processing. Pro is for production workloads with high throughput.
The wizard auto-generates an instance name based on your email address. You can change it to anything you like. Names are unique per account, not globally. Two different accounts can both have an instance called "My Bot".
Important: Instance names cannot be changed after creation. Choose a name you're happy with before proceeding.
After selecting your tier and naming the instance, click Continue.
Step 3: Review and Create
The summary screen shows everything you've selected:
- Billing mode (daily or monthly)
- Tier with resource details
- Instance name
- Estimated costs (setup fee for daily, or monthly price for subscription)
Review your choices. If anything needs changing, use the Back button to return to earlier steps.
For daily billing: Click Create Instance. The setup fee and first day's prorated Claws are deducted from your balance immediately. If your balance is too low, you'll be redirected to the Buy Claws page.
For monthly billing: Click Create Instance. You'll be redirected to Stripe to complete payment. After successful payment, the system automatically provisions your instance. This redirect is normal and secure.
Setup Fees (Daily Billing Only)
| Tier | Setup Fee |
|---|---|
| Budget | 150 Claws |
| Balanced | 300 Claws |
| Pro | 450 Claws |
The setup fee is a one-time charge that covers the cost of spinning up your dedicated server. It's only charged for daily billing. Monthly subscriptions include this in the subscription price.
What Happens During Provisioning
After you confirm, your instance goes through these stages:
- Server Creation - A dedicated cloud server spins up in a German data center. Takes about 30 seconds.
- Security Hardening - Firewall rules and container isolation are applied automatically.
- Container Start - The OpenClaw container launches with your configuration.
- Health Check - The system verifies the container responds correctly.
The entire process typically completes within 60 seconds. You can watch the progress in real-time on the processing page.
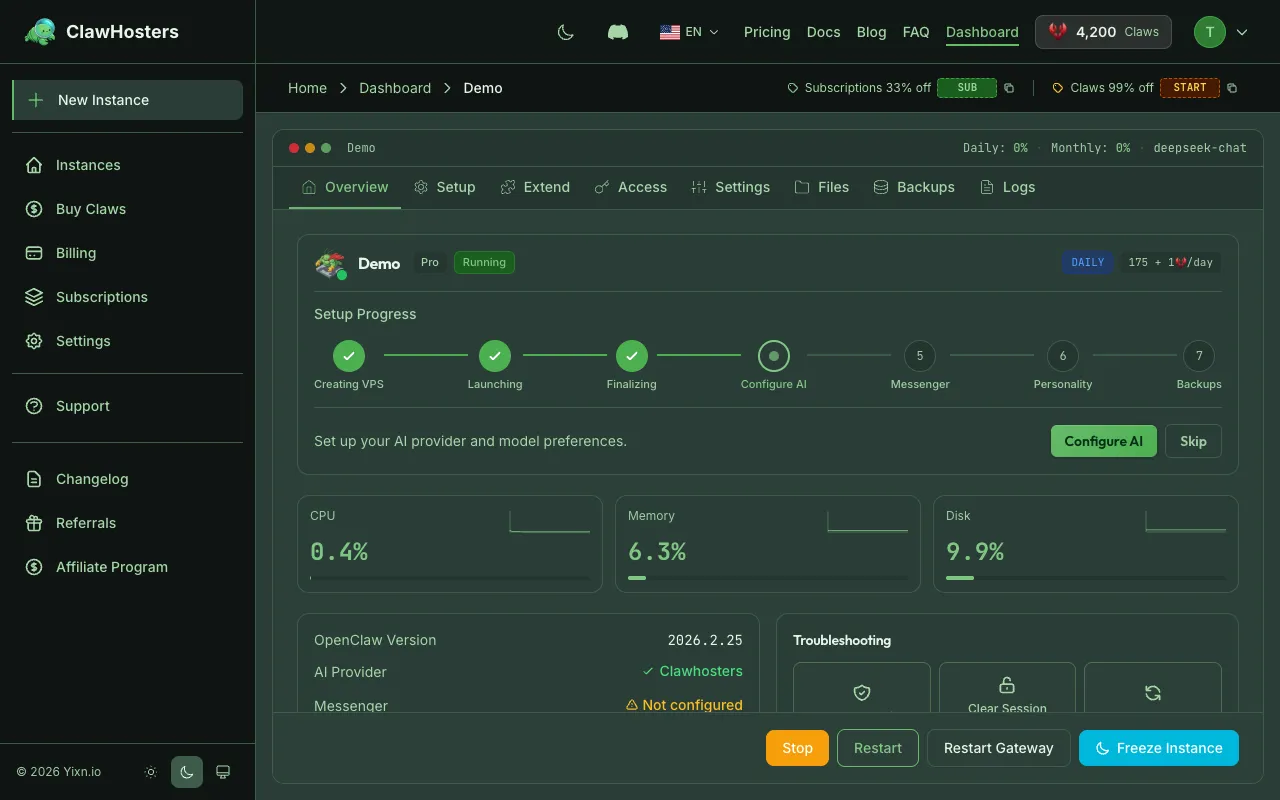
Once provisioning finishes, your instance status changes to Running and you're redirected to the instance detail page.
After Your Instance Is Running
With a running instance, you can:
- Access the Web UI - Click the instance URL in your dashboard to open the built-in gateway interface
- Connect messaging channels - Pair Telegram, WhatsApp, Discord, or Slack bots through the instance settings
- Configure your LLM - Free LLM access is included by default. Optionally, add your own API key (BYOK) in instance settings for more control
- Monitor usage - Check resource consumption and logs from the dashboard
Troubleshooting
"Insufficient balance" error Your Claws balance is too low to cover the setup fee plus first day's cost. Buy more Claws from the billing page and try again.
Instance stuck on "Provisioning" Provisioning normally takes under 60 seconds. If it's been more than 5 minutes, try refreshing the page. Deployments do not retry automatically, so use the "Retry" button on the instance dashboard if available. If the issue persists, contact support.
Stripe payment page didn't load Check that your browser isn't blocking redirects or pop-ups. Try again from the wizard. Your capacity reservation is held for 10 minutes, so you have time to retry.
"At capacity" message All available server slots are currently in use. This is temporary. Check back in a few hours, or switch to a different tier that may have availability.
Related Documentation
Quickstart Guide
Before You Start You need a ClawHosters account. If you haven't signed up yet, head to clawhoste...
Instance Overview
What Is an Instance? An instance is a dedicated OpenClaw server running on ClawHosters. It is yo...
Choosing the Right Tier
Available Tiers ClawHosters offers three server tiers. Each tier runs the same OpenClaw software...
