Loading...
> docs/discord
Connecting Discord
6 min read
Channels
Last updated March 05, 2026
What This Connects
Discord is one of the messaging platforms your OpenClaw instance can use to communicate with users. Once connected, people can message your bot in a Discord server or via direct messages, and get responses powered by your OpenClaw instance.
You need a Discord bot token and the bot must be added to your Discord server with the correct permissions.
Prerequisites
Before connecting Discord, make sure you have:
- A running OpenClaw instance on ClawHosters
- A Discord account
- Access to the Discord Developer Portal
- A Discord server where you have Manage Server permission
Step 1: Create a Discord Application and Bot
- Go to the Discord Developer Portal
- Click New Application and give it a name (e.g. "My AI Assistant")
- In the left sidebar, click Bot
- Click Reset Token to generate a bot token
- Copy the token immediately. Discord only shows it once. If you lose it, you need to reset it again.
Warning: Treat your bot token like a password. Anyone with this token can control your bot. If you suspect it has been compromised, reset it in the Developer Portal.
Step 2: Enable Message Content Intent
Discord requires explicit opt-in to read message content. Without this, your bot cannot see what users type.
- In the Developer Portal, go to your application
- Click Bot in the left sidebar
- Scroll down to Privileged Gateway Intents
- Enable Message Content Intent
- Click Save Changes
If you skip this step, your bot connects but cannot read messages. It will appear online but never respond.
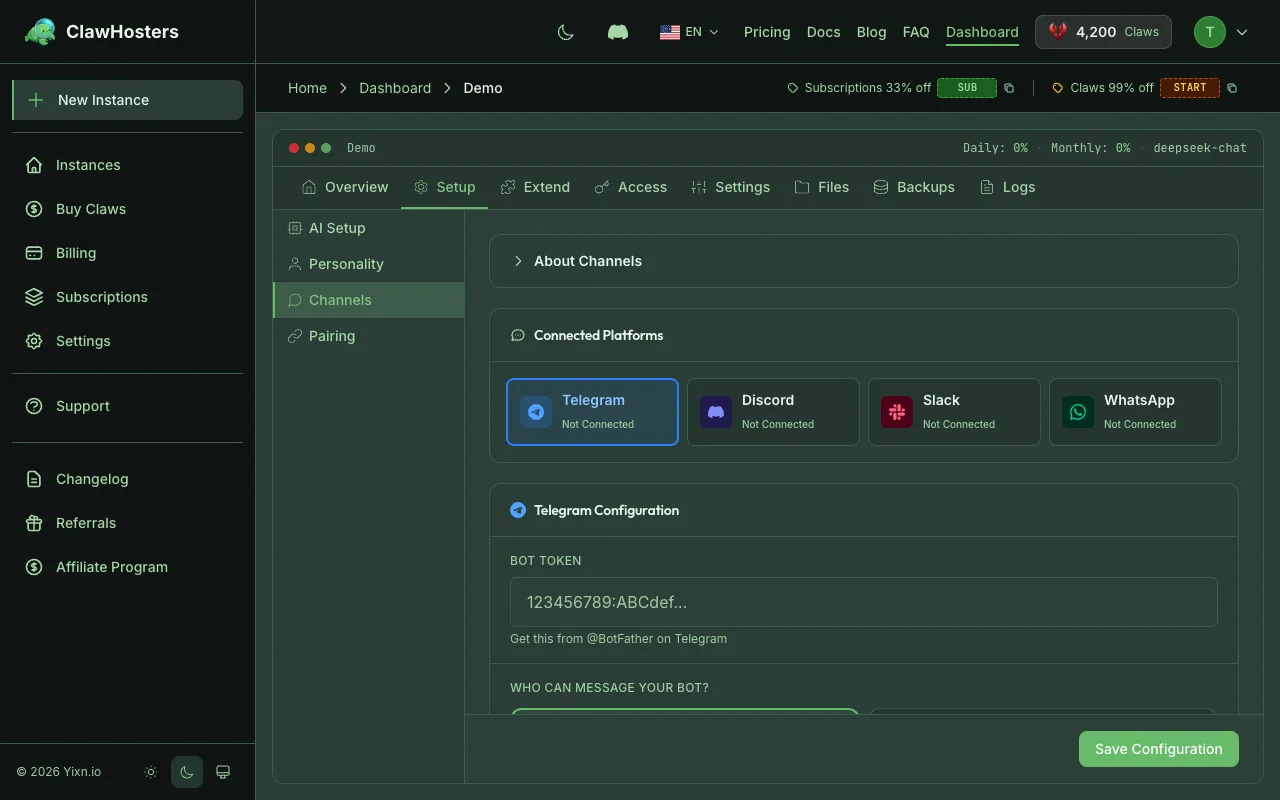
Step 3: Enter the Bot Token in ClawHosters
There are two ways to enter your bot token, depending on whether your instance is new or already running.
During Instance Setup (New Instance)
When you create a new instance, the setup wizard includes a Discord step:
- Paste your bot token into the token field
- Choose a DM policy:
- Pairing mode (recommended): Users must go through a pairing process before they can chat via direct messages. This gives you control over who talks to your bot in DMs.
- Open mode: Anyone who messages your bot directly can chat with it. No approval required.
- Click Save & Continue
For a Running Instance (Settings)
If your instance is already running:
- Go to your instance dashboard
- Open Settings
- Find the Discord section under Messenger configuration
- Enter your bot token and choose the DM policy
- Save the changes. Your instance reconfigures and starts the Discord connection.
Step 4: Add the Bot to Your Discord Server
- In the Developer Portal, go to your application
- Click OAuth2 in the left sidebar
- Under OAuth2 URL Generator, select the bot scope
- Under Bot Permissions, select at minimum:
- Send Messages
- Read Message History
- View Channels
- Copy the generated URL at the bottom of the page
- Open this URL in your browser
- Select the server you want to add the bot to and click Authorize
The bot appears in your server's member list. It responds to messages in any channel it can see.
Step 5: Approve a User (Pairing Mode Only)
If you chose pairing mode, users need your approval before they can chat with the bot via direct messages. In server channels, the bot responds to everyone regardless of the DM policy.
What the User Does
- The user sends a direct message to your bot on Discord
- The bot replies with a pairing code, a short alphanumeric string
- The user copies this code and sends it to you (the instance owner)
What You Do (Instance Owner)
- Go to your instance dashboard on ClawHosters
- Click Approve Discord Pairing
- Enter the pairing code the user gave you
- Click Approve
Once approved, the user can chat with your OpenClaw instance through Discord DMs.
Info: Pairing only applies to direct messages. In server channels, the bot responds to all messages it can see, regardless of pairing status.
How It Works Behind the Scenes
When you save the bot token, ClawHosters encrypts it and stores it securely. The token is transmitted to your instance via SSH, so it never passes through the public internet unencrypted.
Your OpenClaw instance connects to Discord using the WebSocket Gateway protocol. This is a persistent connection that keeps the bot online and listening for messages. The bot does not need a public URL or webhook endpoint. All communication flows outbound from your instance to Discord's servers.
Changing the Bot Token Later
If you need to swap the bot token (for example, if you create a new bot or reset the token):
- Go to your instance Settings
- Update the bot token field with the new token
- Save. Your instance reconfigures automatically.
The old bot stops responding. The new bot picks up where it left off, using the same instance and configuration.
Troubleshooting
Bot does not respond to messages
- Verify the bot token is correct (check the Developer Portal for the current token)
- Make sure your instance status is Running (a paused or stopped instance cannot receive messages)
- Confirm the bot has been added to the server with the correct permissions
- Check that Message Content Intent is enabled in the Developer Portal
Bot appears offline in the server
- The instance might be stopped or paused. Check the dashboard for status.
- The bot token might be invalid or expired. Try resetting it in the Developer Portal and updating it in ClawHosters.
Bot responds in channels but not in DMs
- If using pairing mode, the user must be approved first. Follow the pairing steps above.
- Make sure the user has DMs enabled for the server (Discord user settings > Privacy & Safety)
"Missing Permissions" errors
- The bot needs at least Send Messages, Read Message History, and View Channels permissions
- Check that the bot's role in the server has the required permissions
- Some channels may have permission overrides that block the bot. Check the channel-specific permissions.
Pairing code not working
- Pairing codes are single-use. If it was already used or has expired, the user should message the bot again to get a fresh code
- Make sure you enter the code exactly as shown (case-sensitive)
Related Docs
- Connecting Telegram. Alternative channel with bot token setup
- Connecting Slack. Slack workspace integration
- Multi-channel Setup. Running multiple channels simultaneously
- Quickstart Guide. Full setup walkthrough
Related Documentation
Connecting Telegram
What This Connects Telegram is one of the messaging platforms your OpenClaw instance can use to ...
Connecting Slack
What This Connects Slack is one of the messaging platforms your OpenClaw instance can use to com...
Authentication and Access Control
How Authentication Works in ClawHosters ClawHosters uses different authentication methods depend...
